Big little Pickle is going to be 5 next week. 5! Where has that time gone?! It doesn't seem more than 5 minutes ago that I went into hospital to have her, 3 weeks early and scared I was going to lose her at any minute. She has grown into such a beautiful young girl, and is doing great at school since starting last month. I couldn't be more proud of her :)
So to celebrate this special milestone I thought my princess pickle deserved a special outfit. As usual I turned to my first love, Farbenmix, for inspiration. A few hours later (yes, with little pickle at nursery I finally get a few hours ALL BY MYSELF!!!!!!) this little outfit was born :)
Rainbow Imke, without hood, and a black and red Insa skirt with red hearts. It's so her, she's going to love it :)
Stay crafty ;)
Kelly.x
Knitting, sewing and other crafts. Plus photographs of a little bit of randomness.....all carried out by a harrassed mother of four!
Showing posts with label Farbenmix. Show all posts
Sunday, 14 October 2012
Monday, 27 September 2010
Well that was a tough one! (AKA Thank God its finished)
Yay, normal service has resumed! My back is still a little sore, especially when I've been up in the night feeding Baby Pickle, but I have a full range of movement again, so I can craft!
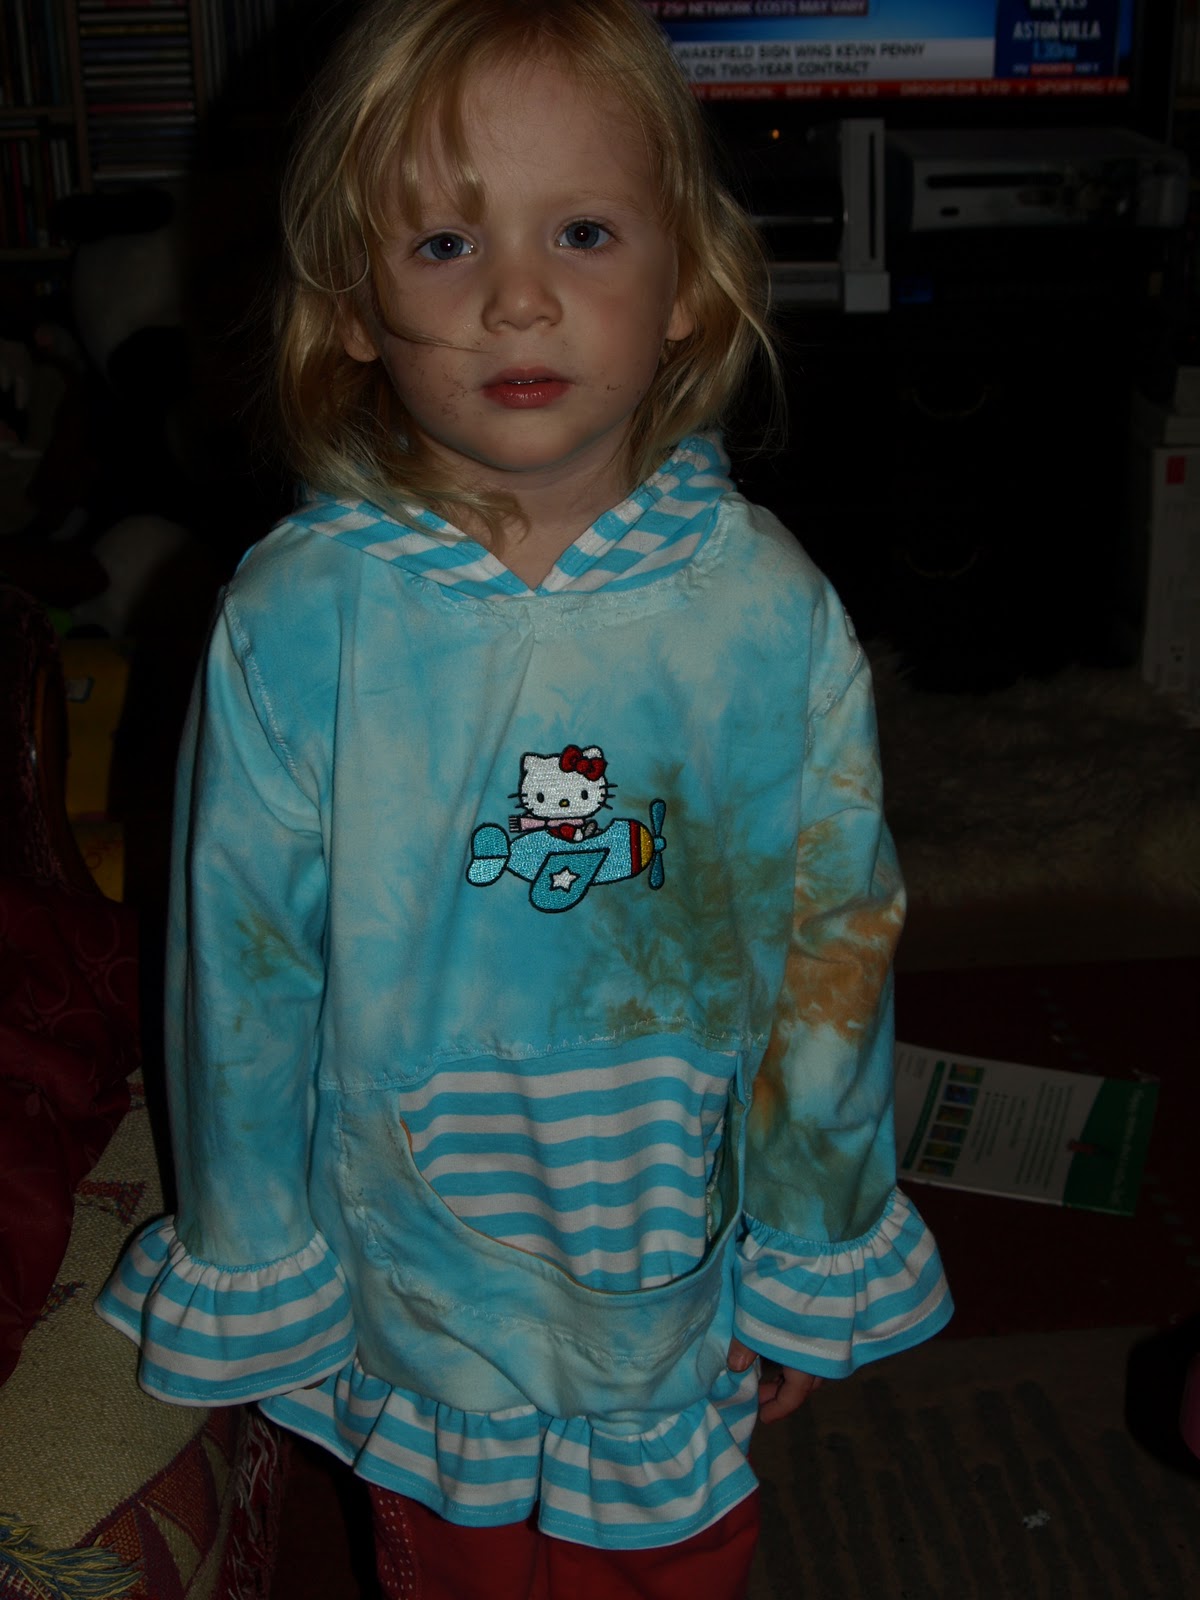
So I got the Farbenmix Jule pattern for my birthday. It's great, such a pretty little top. I dyed up some jersey especially to match the Big Little Pickle's eyes (she looks super cute in turquoise bless her), and cut out all the pieces.
But then I got stuck. The pattern was originally in German, and the English instructions seemed to lose some essential information in translation. I fell at the first hurdle. I searched the trusty net for help, surely somebody must have had the same problem as me and decided to enlighten others?????? But no :( I even emailed the lovely Nancy of Studio Tantrum, who tried her best to help. But I am a novice, and all the talk of interfacing, pocket facings and such like had me scratching my head. Especially as what was meant to be the pocket didn't look deep enough to be a pocket at all! I was confused (doesn't take much if I'm honest lol). So I put it away in a bag and got on with other things. I periodically did a search to see if anyone had posted anything new, but I just didn't have the motivation to work it out.
Then somehow, out of the blue, I found some determination. If theres one thing I'm good at with my sewing it's winging it. So I decided to do just that :) I jumped in feet first and guess what? I actually worked out how to do it right! Once I got past the pocket problem I flew through it, and had it completed in less than two hours. Best part is, unlike the dresses I have made her, Pickle will actually wear it! Go me!
So, for anyone needing a quick tutorial, here it is :)
The pocket facing (the little strip shaped like a U) needs to be reinforced with some fusible interfacing (I used fuse-a-web). It then needs the bottom edge (the outside of the U so to speak) overlocked, or just zigzag stitched if, like me, you have no proper overlocking facility. This U shape is then sewn onto the front bottom pattern piece (the one you chopped the semi-circle chunk out of), right sides together along the top edge (the inside curve of the U). Then turn it right side in. Top stitch along the bottom seam of the U, so you have a decorative stitch on the outside of the larger piece. Then stitch the two bottom front pieces together. And voila! You have a pocket :)
Ok, I should have taken pictures as I went. But if anyone has any questions you can ask me direct, I'll try my best to help out :)
Next up is a waterproof jacket for Boy Pickle, out of my "Sewing clothes kids love" book. I'm looking forward to making something that will get pretty much every day wear (don't ya just love English weather :-D). I'll try to remember to take photos as I go this time, but I'm not promising! Sometimes I just have to get my head down and get on with it, otherwise I'd never get anything done :)
Stay crafty,
Kelly :0)
So I got the Farbenmix Jule pattern for my birthday. It's great, such a pretty little top. I dyed up some jersey especially to match the Big Little Pickle's eyes (she looks super cute in turquoise bless her), and cut out all the pieces.
But then I got stuck. The pattern was originally in German, and the English instructions seemed to lose some essential information in translation. I fell at the first hurdle. I searched the trusty net for help, surely somebody must have had the same problem as me and decided to enlighten others?????? But no :( I even emailed the lovely Nancy of Studio Tantrum, who tried her best to help. But I am a novice, and all the talk of interfacing, pocket facings and such like had me scratching my head. Especially as what was meant to be the pocket didn't look deep enough to be a pocket at all! I was confused (doesn't take much if I'm honest lol). So I put it away in a bag and got on with other things. I periodically did a search to see if anyone had posted anything new, but I just didn't have the motivation to work it out.
Then somehow, out of the blue, I found some determination. If theres one thing I'm good at with my sewing it's winging it. So I decided to do just that :) I jumped in feet first and guess what? I actually worked out how to do it right! Once I got past the pocket problem I flew through it, and had it completed in less than two hours. Best part is, unlike the dresses I have made her, Pickle will actually wear it! Go me!
So, for anyone needing a quick tutorial, here it is :)
The pocket facing (the little strip shaped like a U) needs to be reinforced with some fusible interfacing (I used fuse-a-web). It then needs the bottom edge (the outside of the U so to speak) overlocked, or just zigzag stitched if, like me, you have no proper overlocking facility. This U shape is then sewn onto the front bottom pattern piece (the one you chopped the semi-circle chunk out of), right sides together along the top edge (the inside curve of the U). Then turn it right side in. Top stitch along the bottom seam of the U, so you have a decorative stitch on the outside of the larger piece. Then stitch the two bottom front pieces together. And voila! You have a pocket :)
Ok, I should have taken pictures as I went. But if anyone has any questions you can ask me direct, I'll try my best to help out :)
Next up is a waterproof jacket for Boy Pickle, out of my "Sewing clothes kids love" book. I'm looking forward to making something that will get pretty much every day wear (don't ya just love English weather :-D). I'll try to remember to take photos as I go this time, but I'm not promising! Sometimes I just have to get my head down and get on with it, otherwise I'd never get anything done :)
Stay crafty,
Kelly :0)
Subscribe to:
Posts (Atom)